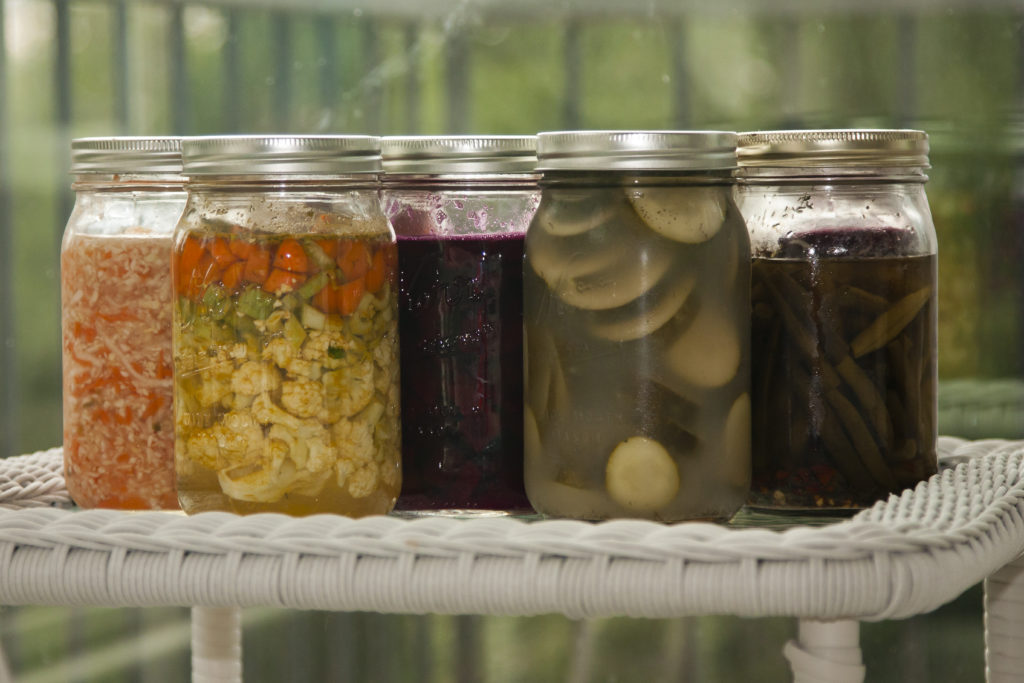
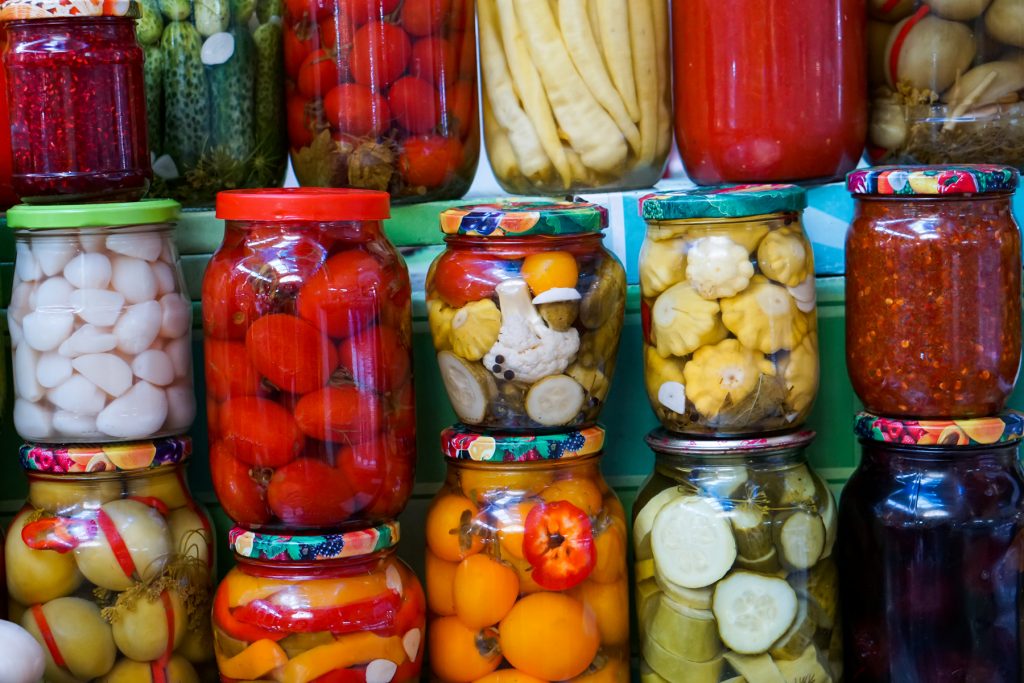
 Such a cinch! I cannot believe I only recently discovered how simple it is to make my own home-made pickles. These beautiful, incredible, and hugely economical delights are fun to make… for our enjoyment and probiotics. making saurkraut, salsa…
Making pickles at home means that you can tailor them to suit your tastes, make them more dill or less cayenne, and add as much or as little flavoring as you wish. The trick with home-made pickles is to create an environment that is inhospitable to harmful bacteria while preserving the integrity of the vegetables. There are two options, both of which center around adding enough probiotic starter to keep out any other opportunistic anything (not mentioning names ;-)—whey or unfiltered apple cider vinegar. The apple cider vinegar seems to keep the vegetables more crisp in the fridge, but is also acidic enough that they can be canned safely if you choose to do so. In my hands, the whey option was more fun and I loved the Kefir Cream Cheese bonus. I did notice it produces a slightly less crisp pickle.
Design your own!
Yields 4 Quarts
Clean and slice vegetables to Pickle
3-4 pounds vegetables. Suggested preparation after each veggie:
Beets (cleaned, peeled, sliced or coarsely grated)
Brussels Sprouts (cleaned, trimmed, cut in half)
Carrots (cleaned, sliced into rounds or sticks, or coarsely grated)
Cucumbers, small pickling (use whole with a few fork punctures, or halved)
Cucumbers (peel the skin off if waxed; then slice into rounds or spears)
Green Beans (trimmed, can cut 1-2″ lengths if desired)
Okra (trimmed, whole)
Peppers, pepperoncini (and similar small, cleaned, whole or sliced)
Peppers, larger (Italian, sweet red… cleaned, stems and seeds removed, sliced)
Tomatillos (papery leaves removed, cleaned, halved)
Turnips (cleaned, peeled, sliced or coarsely grated)
These are just suggestions; what’s your favorite?
Basic 2% Brine
2 Tablespoon Sea salt (Note: Pickling or kosher salt can also work; anti-caking additives and iodine in table salt make pickles cloudy and taste strange)
½ cup kefir whey OR about 1 cup unfiltered Apple Cider Vinegar
Bring to 2 quarts (8 cups) liquid with filtered spring water (not chlorinated)
Spice example for dill pickles
(per quart jar):
- Small pickling cucumbers*
- 1-2 cloves garlic
- 1 tablespoon mustard seed
- 10 peppercorns
- 1 bay leaf
- 1-2 heads of fresh dill (or 1 tablespoon dill seed, if you prefer)
Other designer home-made pickle flavors
Mix and match any of these flavorings with the brine to create your favorite designer home-made pickle recipe. (amount per 1 quart jar, give or take)
1 bay leaf
1 Tablespoon whole dill seeds
1 Tablespoon whole coriander seeds
1 teaspoon fennel seeds
1 teaspoon juniper berries
½ teaspoon celery seed
1-3 whole chili peppers
½ teaspoon turmeric powder
½ teaspoon red pepper flakes
1 teaspoon whole peppercorns
½-1 teaspoon whole mustard seeds
1 fresh chile pepper, such as habanero or jalapeño, sliced
2-4 sprigs fresh dill
½ teaspoon prepared horseradish or a few small strips of the fresh (peeled) root
1 sprig fresh oregano
1 tablespoon diced shallot
Ingredients for Kefir Whey (BONUS! you also get Kefir cheese—or just use Apple Cider Vinegar with “mother”)
2 Cups Coconut Milk Kefir
- Place a non-bleached coffee filter in a strainer and set over a bowl (I found cheese cloth to work if a few layers…)
- Take your overnight kefir and pour it into the filter-lined strainer.
- Cover the whole thing with plastic wrap and place in the fridge overnight.
- Next AM: you have kefir “cheese” on top and whey on the bottom. The “cheese” will last at least a month in the fridge, but mine has never lasted that long because we love it as a base for veggie spreads and dips… creamy salad dressings…
Instructions
- Place the prepared vegetables in 1-quart jars; 2 quarts of brine is enough for 4 quarts of vegetables, pack them pretty tight but don’t crush them.
- Place the side of a large knife against the garlic clove and crush the clove—just break the clove, no need to mince it or make small pieces unless you want to. Drop a flattened garlic clove into each of the pickle jars.
- Place your chosen spices into your jars. (write them down; share them in the comments below if you get a particularly great batch!)
- Make the brine.
- Fill each jar with prepared brine to 1 ½ inch of the top (a bit over the top of the veggies). Leave the headspace to let the pickles bubble and expand.
- Seal the jars and let them sit in a warm place on your kitchen counter for 3 days or so. Keep them out of direct sunlight but it doesn’t have to be dark.
- Check your pickles every day—if they rise above the water, push them down. You can invert the jar to mix or settle the cucumbers or just open the seal and push them down.
- Occasionally mold forms when the pickles rise above the water—this is actually not harmful to the rest of the pickles but do pull out any that begin to form mold and then make sure to keep the rest under water (I have never seen this, personally, because I keep my pickles covered—but an instructor who taught me this said it can happen and what to do).
- After 3 days, put the jars in the fridge to slow the fermentation. The pickles are ready to eat but they keep maturing and getting better for another 4-6 weeks. If covered air-tight, they can last in the fridge up to nine months.
Enjoy with salads, barbeques, more… keep creating!
Copyright © 2014-19 Marie Sternquist Cecchini. All Rights Reserved


