Image by Freepik
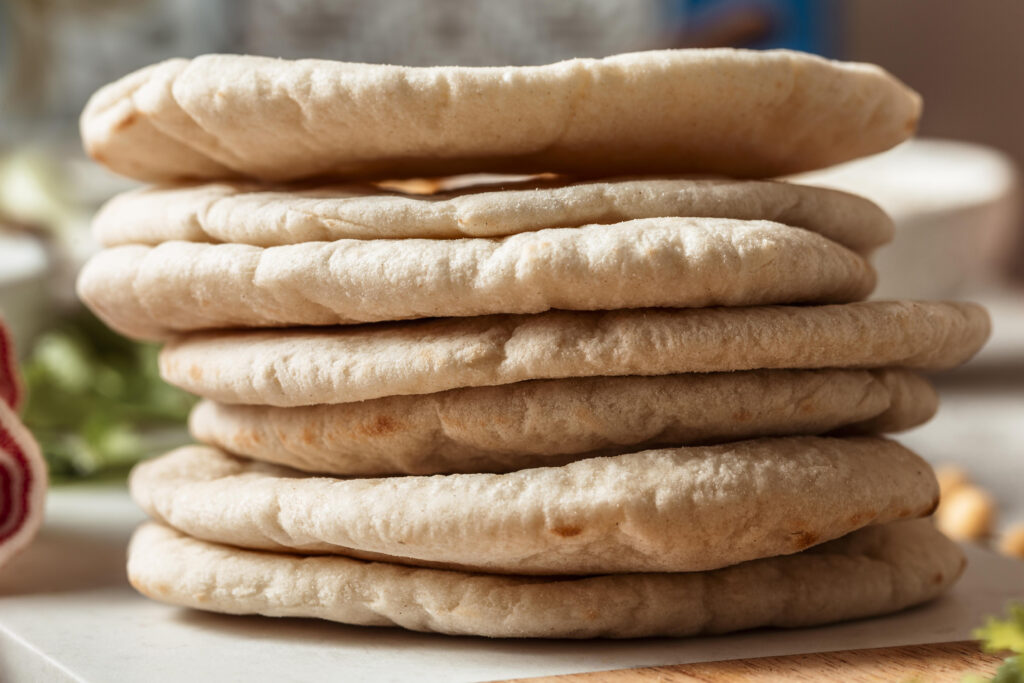
My friend Pat recently sent me a gazillion herbs spices, and even a “de-stress” tea from an enormous herb store he found while travelling through Egypt. So… I just had to find wheat-free and truly gluten-free, paleo pita bread to go with the Mediterranean meatball recipes here or here, or even Falafel and Tzatziki.
All the grass family seeds have gluten-like allergens—yes this means wheat and it also means corn, rice, oats, rye, barley, that have gluten-like proteins. Get my free handout at this link—I had to make a soft flatbread that would split between top and bottom, well, Pita bread.
Here you go. And you may want to make extra. They go fast!
Makes 4 x 6” pita breads
Ingredients
1 teaspoon aluminum-free baking soda
1 teaspoon organic raw honey
2 Tablespoons olive oil
¾ cup cassava flour
¾ cup arrowroot or tapioca flour
1 teaspoon fine ground sea salt
¾ cup plus 1-2 Tablespoons hot, filtered water
Preparation
- Preheat the oven to 425o F.
- In a small bowl or even a measuring cup, mix together the baking soda and the raw honey until well mixed. You may need to run the honey jar under hot water if it is not pourable—easier to measure.
- In a separate, medium mixing bowl, mix together the cassava flour, arrowroot or tapioca, and sea salt.
- Stir ¾ cup of the hot water into the bowl or measuring cup with the honey/baking soda mixture. You will need the entire ¾ cup of water but hold off on the additional 1-2 Tablespoons for now. Stir unil well combined.
- Mix the olive oil with the dry ingredients, then slowly stir in the hot water/honey mixture. With the entire liquid mix in, it should make a soft dough that can be formed into balls. If it is too dry, your dough will crack some shaping it. Add a small amount of additional water at a time, very slowly—you can always drizzle in more water but if you add too much then the dough will become sticky—you can’t take the water back out.
- Form the dough into 6 equal size balls and place onto a sheet of parchment paper. Smash the balls with the palm of your hand until flattened.
- Rub a small amount of cassava flour onto a rolling pin then roll the dough out to approximately ½ inch thick rounds. Note: do not roll too thin or they will become more like crackers. It’s perfectly normal for edges of the pita rounds to crack. Just place a few drops of water onto your finger tips and smooth the edges. If doing so causes the edges to become slightly thicker, that’s fine.
- Transfer to a baking tray, the entire sheet of parchment paper with the pita rounds on top.
- Place the tray with the prepared rounds into the preheated oven and bake for 5 minutes. If they don’t look dark enough, give them another minute. If they bake for too long, they’ll become dark and more like pita crisps.
- Remove from oven, slice in half, the open the pita with a sharp knife. Let cool slightly, they are best served warm, then fill as you choose… or dip in soups or stews… great with Hummus Yum… or Spinach Artichoke Dip or…
Fabulous!
PS. Make extra. These store well refrigerated and if anyone tries to freeze them, let me know in the comments, below. These are great for portable “sandwich-style” lunches, wraps, anythung…
Stay Brilliant XOXO!
Copyright © 2023 Marie Cecchini Sternquist. All Rights Reserved